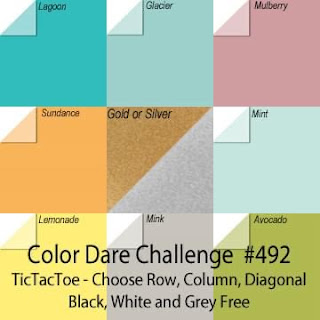
Our Colour Dare Challenge for #492 is the colours of the In Full Bloom Scrapbooking Workshop Kit in a tic-tac-toe grid - Black, White and Grey are Free to use. When you are creating for more than one challenge please make sure your project meets our requirement. Most importantly - have fun! Go to the link for Colour Dare #492 and add your entry. When you submit your entry you must provide a link to your post, not just to your blog in general. There are LOTS of ways to enter either a Blog Post or post to an online gallery (Facebook, Pinterest, SplitCoast Stampers, or Instagram).
 |
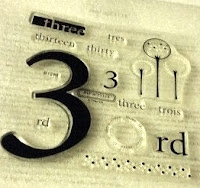
| RETIRED STAMP SET I also recently did some training with this style stamping as shown below. That was the inspiration for this weeks colour dare. |
 |
| RETIRED STAMP SET |
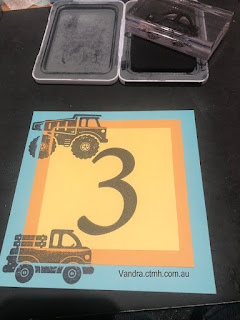
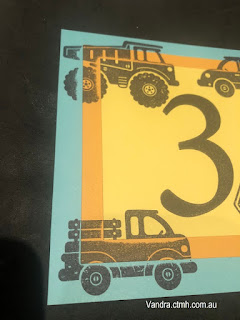
Part of this technique is to stamp over the edges which leaves a little bit right next to each layer blank. That is the purpose of filling with the Mink layers later.
I only used 3 vehicles because young boy was turning 3. Then put the non-stop fun stop sign in the corner.
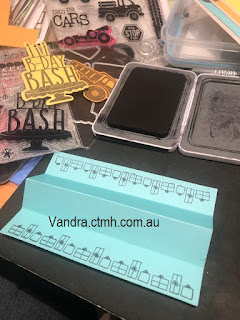
Inside I wanted to do a pop up so I cut a bit of lagoon cardstock at 4 inches wide by just under 6 inches long (it was a scrap that fit so I didn't measure). I scored at each inch along the section and folded up in the middle and down on the sides... valley fold on the sides and mountain fold in the centre. Then I decided to stamp the presents on each side from the Cake Day—Scrapbooking Stamp + Thin Cuts. Note to self: Stamp on this part BEFORE folding... stamping on a folded piece is not easy!
I also used Cake Day—Scrapbooking Stamp + Thin Cuts to cut the cake in Lemonade cardstock and stamp in black ink. Then I cut one of the candles off (only 3 candles required). Then I decided to do a cake on both sides so did a second one and cut off a different candle on the reverse side.
I also added a dump truck in Sundance - fussy cut out.
The truck didn't really match but didn't look too bad and I cut the candles to show each side only having three candles.
On the below side I also stamped the "Hooray! Hooray!" stamp on there (prior to sticking the items). I made sure adhesive only on the bottom of the first side and on second side only to place it where the stamps are touching so no adhesive sticking out. If I made a mistake I could correct with Anti-static Pouch to remove stickiness.
 |





What a great pop up card for a 3 year old! He's going to love it!
ReplyDeleteI have done this technique before and I love the way you used it and the inside popup is fun and creative.
ReplyDeleteSuper clever pop up card and the staggered layered stamping is fabulous (probably not the correct terminology for it but it’s my description!). X
ReplyDelete